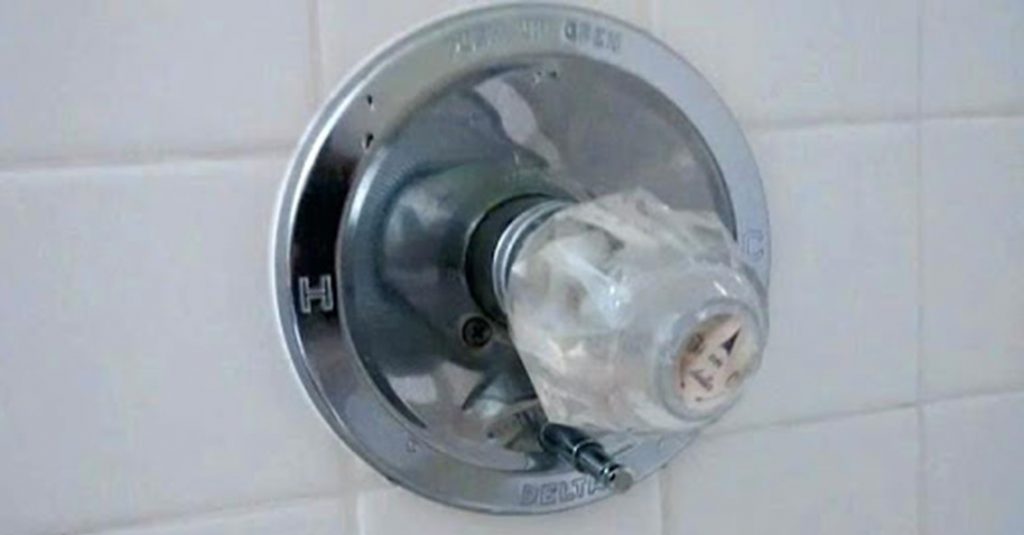
If you have a Delta Monitor Shower Faucet that is leaking or needs to be repaired, you may be able to fix the problem yourself. In this blog post, we will guide you through step-by-step instructions on how to repair your Delta Monitor Tub and Shower Faucet.

Before we begin, it is important to note that while this repair can be done by most do-it-yourselfers, it does require some plumbing knowledge and experience. If you are unsure about any step of this process, it is best to consult a professional plumber.
Step 1: Shut Off Your Water Supply
The first step in any plumbing repair is to shut off your water supply. This can usually be done by turning off the valve located near your main water line. If you are unsure about how to shut off your water supply, consult your user manual or contact a professional plumber for assistance.
Step 2: Remove the Shower Handle
Use a flat-head screwdriver to remove the screw that is holding the shower handle in place. Once the screw is removed, carefully pull the handle off the faucet. You may need to use a pair of pliers to help loosen the handle if it is stuck.
Step 3: Remove the Escutcheon Plate
Using a screwdriver, carefully remove the escutcheon plate that is located around the shower faucet. Be sure to keep all screws and parts in a safe place so they do not get lost.
Step 4: Remove the Cartridge
Using a pair of pliers, remove the cartridge from the faucet. The cartridge is the piece that controls the flow of water and is usually located behind the escutcheon plate. If the cartridge is stuck, you may need to use a cartridge removal tool to help loosen it.
Step 5: Inspect the Cartridge
Carefully inspect the cartridge to see if it is damaged or worn. If the cartridge is damaged or worn, it will need to be replaced. Replacement cartridges can be purchased from most plumbing supply stores.
Step 6: Replace the Cartridge
Carefully insert the replacement cartridge into the faucet and secure it in place with the screws that were removed in Step 4.
Step 7: Reinstall the Escutcheon Plate
Carefully replace the escutcheon plate and secure it in place with the screws that were removed in Step 3.
Step 8: Reinstall the Shower Handle
Carefully replace the shower handle and secure it in place with the screw that was removed in Step 2.
Step 9: Turn Your Water Supply Back On
Slowly turn your water supply back on and check for any leaks or drips around your faucet. If you notice any leaks or drips, turn your water supply back off and double-check that all parts and screws are securely in place.
In summary, repairing your Delta Monitor Tub and Shower Faucet is a DIY project that can save you time and money. By following these step-by-step instructions, you can repair a leaky or faulty faucet quickly and easily. If you are unsure about any step of this process, contact a professional plumber for assistance.